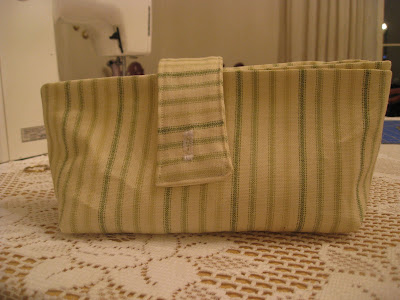
I got a note from a friend I haven't talked to in awhile yesterday. I decided I wanted to make her something and send it to her. I decided on a quick bag.
 I started with four pieces (two for the outside and two for the lining). I used 11"x 7" for both the outside and the lining (so four of that size). And then I cut a 2" x 8ish" (not sure, I sent it to her already!) for the closure.
I sewed the closure pieces right sides together like a tube, turned it, pressed & topstitched it, and then did a small button hole!
 Then, I sewed the front and back pieces together.
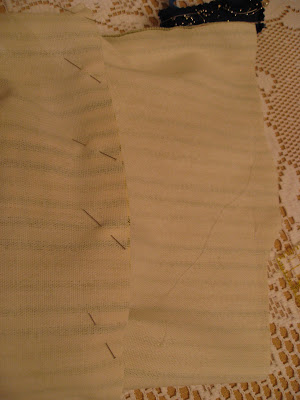
 Gussets are easy. Here's how to do them. Take the corner of the bag and fold it along the bottom and side seams into a triangular point. Measure 2" from the point and then mark this spot. Sew a straight line parallel to the corner of the bag (the top of the triangle). Does that make sense?
In other words, sew in the direction the pin is pointing.
 Do this to both bottom corners of the bag and you'll have a nice, flat bottomed bag that will sit on its own.
Sew the lining pieces together but leave a space at the bottom for turning.
To attach the lining and the rest of the bag, pin the upper edges together (right sides together). Make sure the bag's closure piece is tucked inside so it doesn't get caught in the seam!
 Sew the bag together along the upper edge of the bag and lining.
To turn it, reach through the hole you left in the lining and grab the outer portion of the bag. Pull it the whole way through until it is right side out. Now push the lining back down into the bag.
 You should press it well to get a good, crisp edge along the top.
To finish it off, I topstitched along the upper edge. I also added tucks on either side of the bag to help it have some shape (due to lack of interfacing, it sort of sagged without these tucks).
If you want to add tucks, just pinch the fabric about a half inch on either side of the side seam. Sew 3/4" seam at this half inch mark.
 I tried to catch just the outer layer of fabric for this button to hide the stitches.
I should have added this button before sewing the lining into the bag.


No comments:
Post a Comment
Spelling or grammar will not be criticized, so there's no reason not to leave me a comment!