Pages

Thursday, April 14, 2011

Bunny Family Addition


Before we had our first child, I was on a sewing rampage. I made both baby girl and boy blankets, burp cloths...and bunnies. I made a bunny family (one pink bunny, a blue bunny, and a green bunny). Since we're having a new baby, I had to make the baby a bunny. I made it entirely from scraps. I even used more of that towel I keep talking about!

The rest of the bunny family is in storage while our house is being built (and it's coming along well!) here's a picture:

And here is the bunny family picture from two years ago:
I made all of these bunnies using this tutorial.

Tuesday, April 12, 2011

Coming Soon: Raglan T-Shirt Pattern

I've gotten a few requests for the tutorial I used to make these raglan t-shirts. Here's another example of one I've made since then using the pattern I drafted:

I've even branched out and added a hood and a front kangaroo pocket. Plus long sleeves.
My little guy isn't too fond of wearing hoods indoors.

But he does like his one-of-a-kind shirts.
Why am I boring you with all this? I've spent LOADS of time tweaking this pattern and decided that I'm going to sell the pattern on etsy and ebay so you can make your own crew neck long or short sleeved shirts. I'm going to include the hood and pocket options, too!

The pattern's cost will include over 20 pages of instructions and pictures to make sewing the shirts easier. However, the cost will not include the rights to sell the pattern or finished shirts yourselves. The pattern is only going to be available in a size 3T for now. I'll see how it goes and if it is worth my time to draft other sizes, I'll start working on them.

I'll let you know when it's available!
I just wanted to give you an idea of what I'm working on this week.

Monday, April 11, 2011

Repurposed Flower Headband Tutorial

Do you want to make a flower headband from a t-shirt like I made here?

Start with two skinny rectangles 2" x 17" of t-shirt fabric. You'll need 4" of elastic.
Also, you'll need 8 small circles and 10 larger circles (we're going to be using the same tactic found here for the flowers).

Sew the two long rectangles with right sides together at the long sides to make a skinny tube. Turn the tube to right sides out with a safety pin.

Press the tube flat.

Add your 4" piece of elastic to the ends. As you add it, turn the raw edges under and pin in place.

Stitch the elastic securely into place.

Now you can make the flowers (using this tutorial) and then stitch them to the headband. I added them close together because they spread out a little bit when you wear the headband.

Friday, April 8, 2011

Yoga Skirt: The Non-Gathered, Flat-Front Version

How's that for a confusing title?

I did a yoga skirt tutorial last summer, found here, and made one with a full, gathered skirt. I also did not hem the bottom. I felt it turned out a little hippie-ish for my style and taste. I wanted to make a flat front version to help boost my maternity wardrobe now and also my summer wardrobe after I have the baby!

Here is what I came up with, followed by the tutorial in case you want to make your own!

flat front yoga skirt #yogaskirt #flatfrontyogaskirt

A comfy, snug, yet forgiving waistband...
yoga skirt

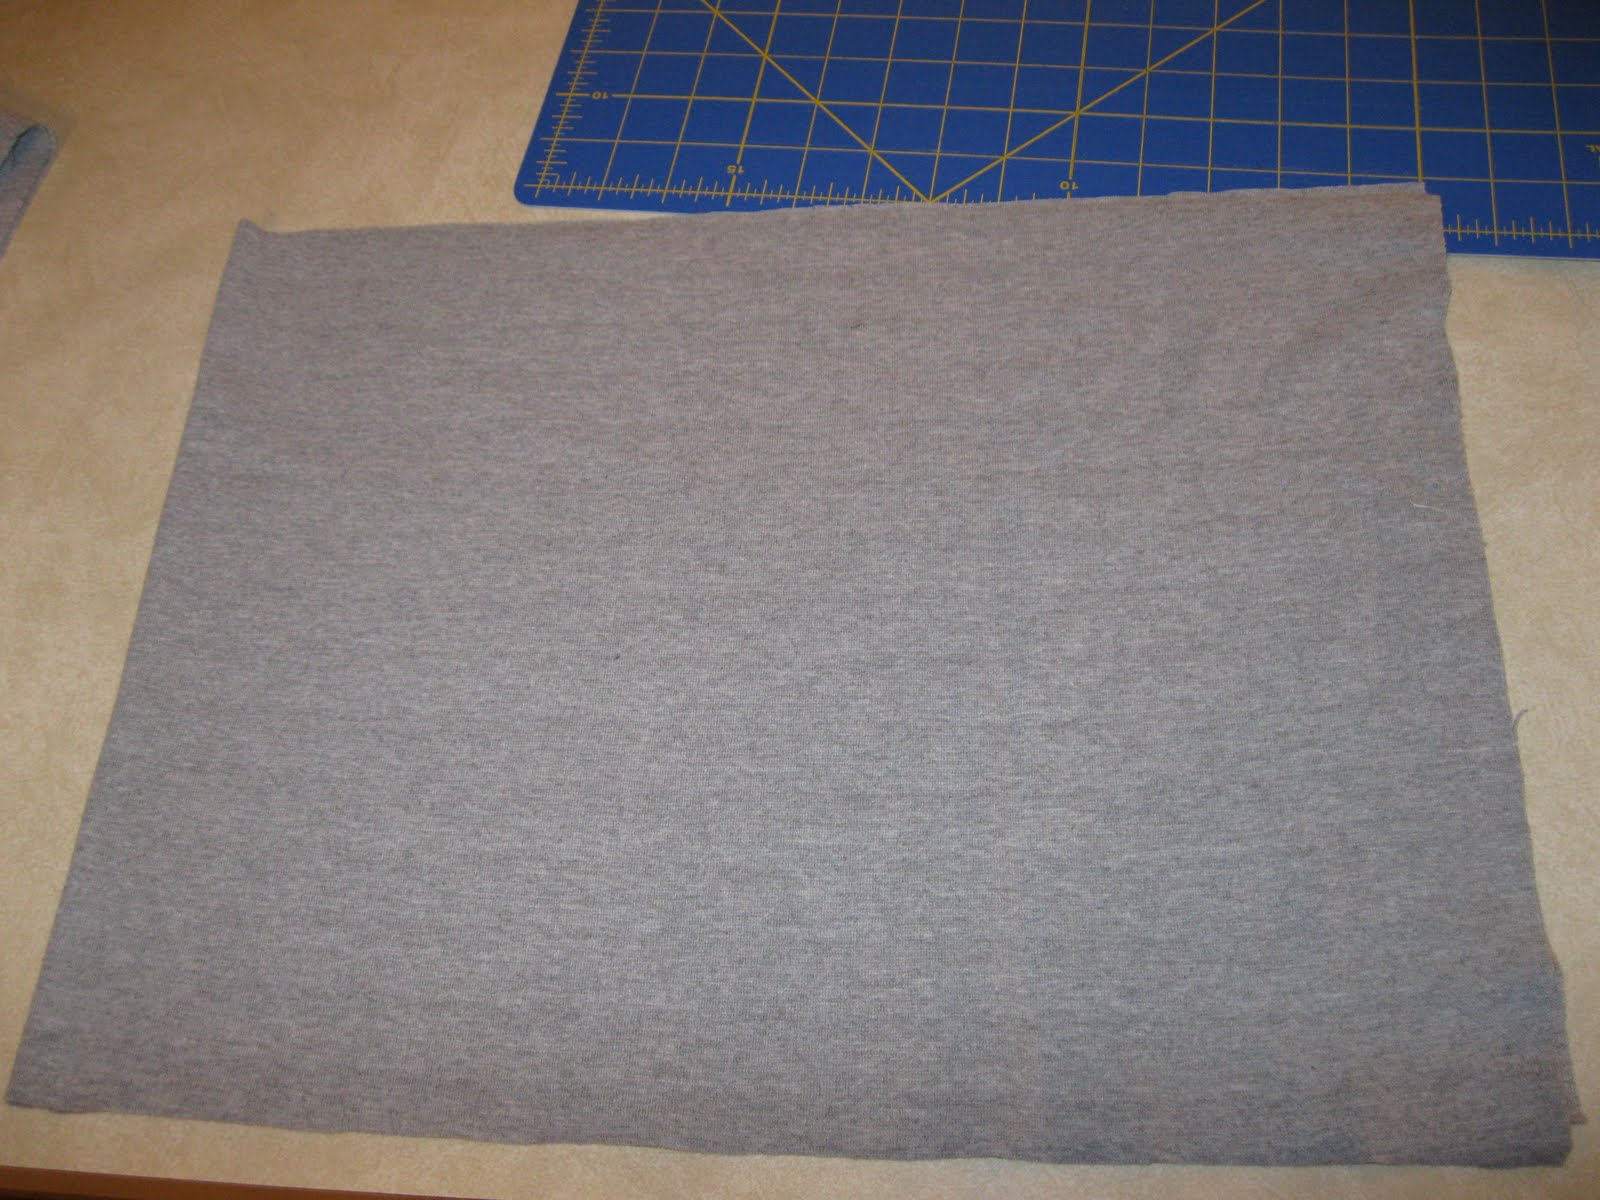
What I started with: a tube-knit fabric. It isn't single-knit because it doesn't roll onto itself.


I cut the skirt pieces to be about 2" wider than the fullest part of my hips. (Edit: it will seem tight through the waist/hip but if it isn't tight, it won't stay up!)


I then tapered the pieces into an A-line shape using the full width of the fabric for the bottom part of the skirt with my ruler.

At this point, I stitched the sides of the skirt together. (I used a stretch stitch for all the seams.)

Next, it was time to work on the waistband. I was only able to make mine about 14" tall. I measured my waist and subtracted 4". I then sewed it up the sides like a tube and folded it over so that the right sides were out.

Then I ran into some problems. I had a waistband that was smaller than the skirt's circumference. I didn't want to gather the skirt, but I had to make it match up without gaps in the skirt. So this is what I did:

-Mark the sides and middle of both the skirt and waistband with pins.

Lined up the pins at each quarter turn around the skirt (sides and middle of the back and front).

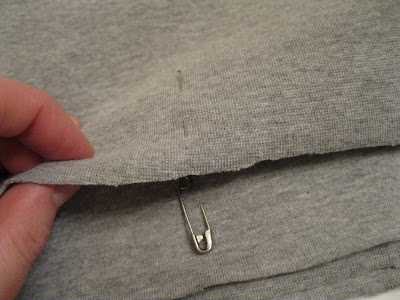
Then I stretched the waistband to meet up with the skirt and pinned. Then I sewed, using a stretch stitch, making sure I evenly stretched the waistband to be evenly distributed around the skirt's larger circumference.


Next came the hem. I hemmed on the outside of the skirt, carefully making sure to do 1" the entire way around.
I used a stretch stitch and gray thread. I think it turned out well!

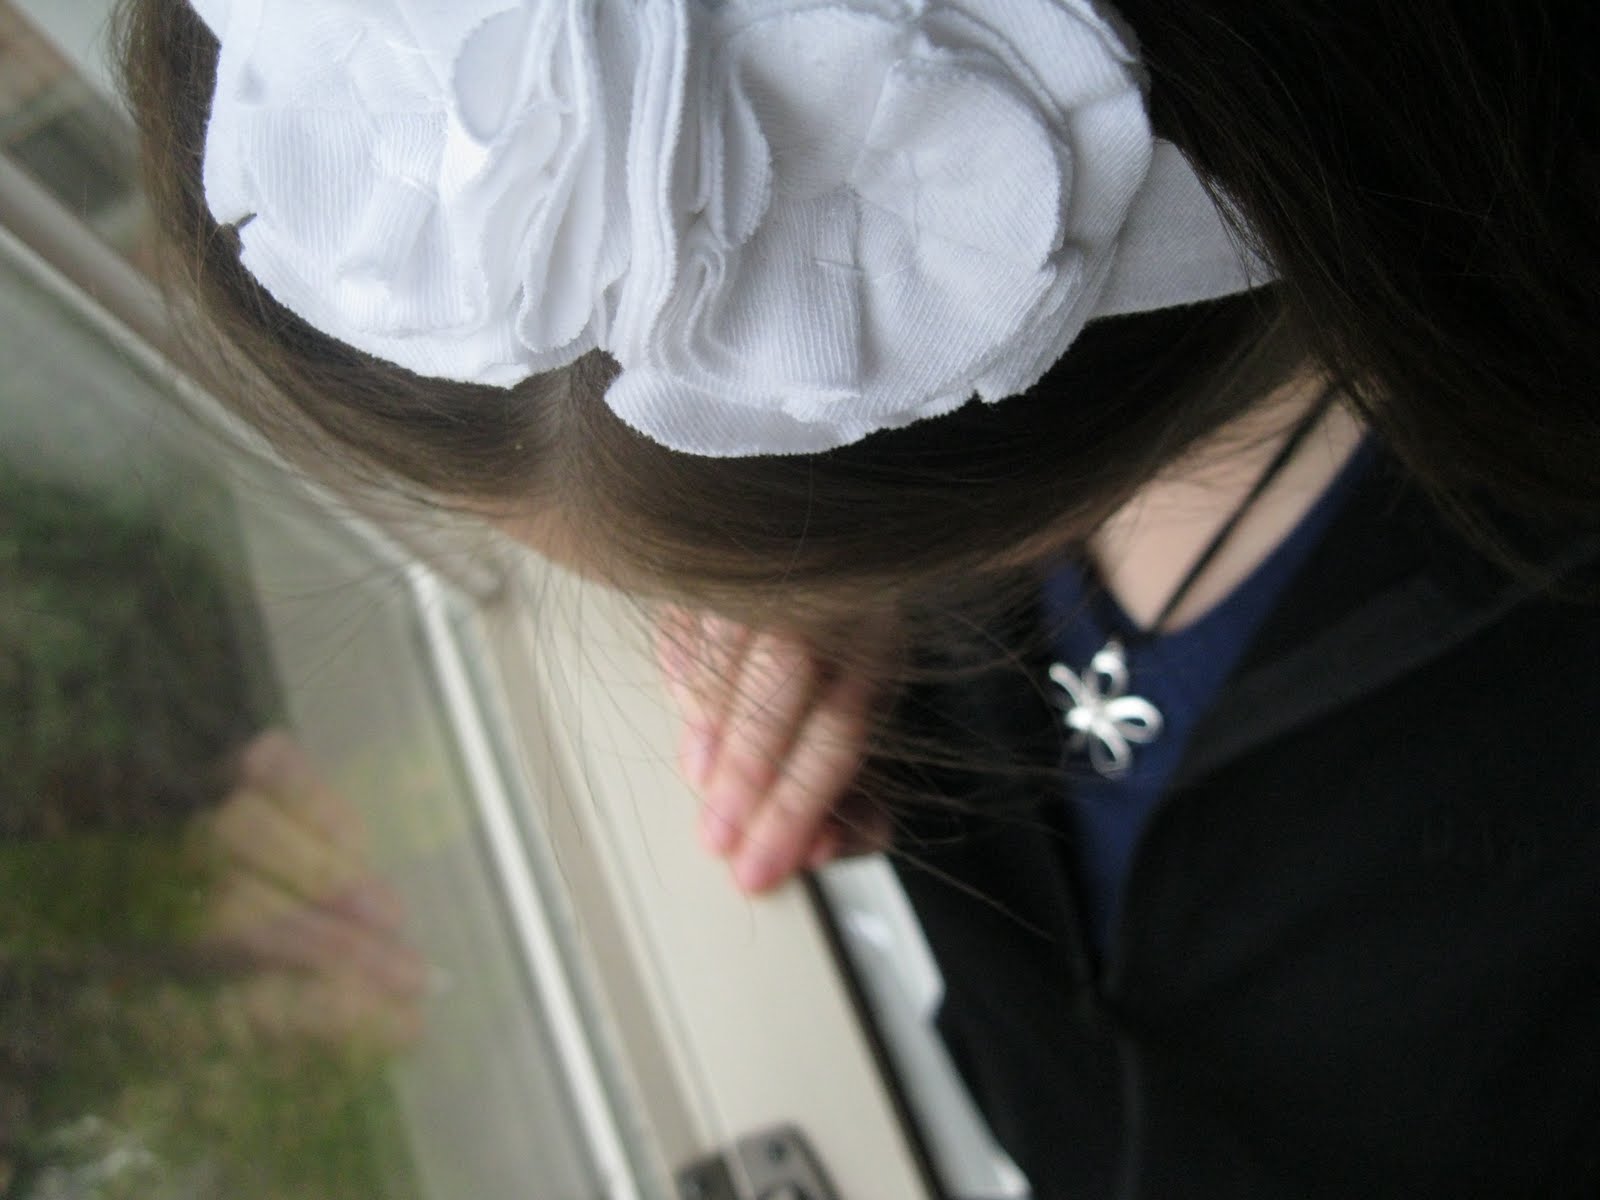
I think the skirt is a little plain and I am planning to embellish it with something fun!

A picture of my 9-month pregnant self wearing this skirt. Edit: it will be tight through the waist/hip but if it isn't tight, it won't stay up!

Thursday, April 7, 2011

Repurposed Headband with Flowers


I can never find headbands comfortable enough to wear for very long. I decided I needed something less elastic, so I used a t-shirt to make this headband.


A tutorial will be coming...sometime. Sometimes taking a nap wins out over sewing during my 'free' time.