
How's that for a confusing title?
I did a yoga skirt tutorial last summer, found here, and made one with a full, gathered skirt. I also did not hem the bottom. I felt it turned out a little hippie-ish for my style and taste. I wanted to make a flat front version to help boost my maternity wardrobe now and also my summer wardrobe after I have the baby!
Here is what I came up with, followed by the tutorial in case you want to make your own!

A comfy, snug, yet forgiving waistband...

What I started with: a tube-knit fabric. It isn't single-knit because it doesn't roll onto itself.

I cut the skirt pieces to be about 2" wider than the fullest part of my hips. (Edit: it will seem tight through the waist/hip but if it isn't tight, it won't stay up!)
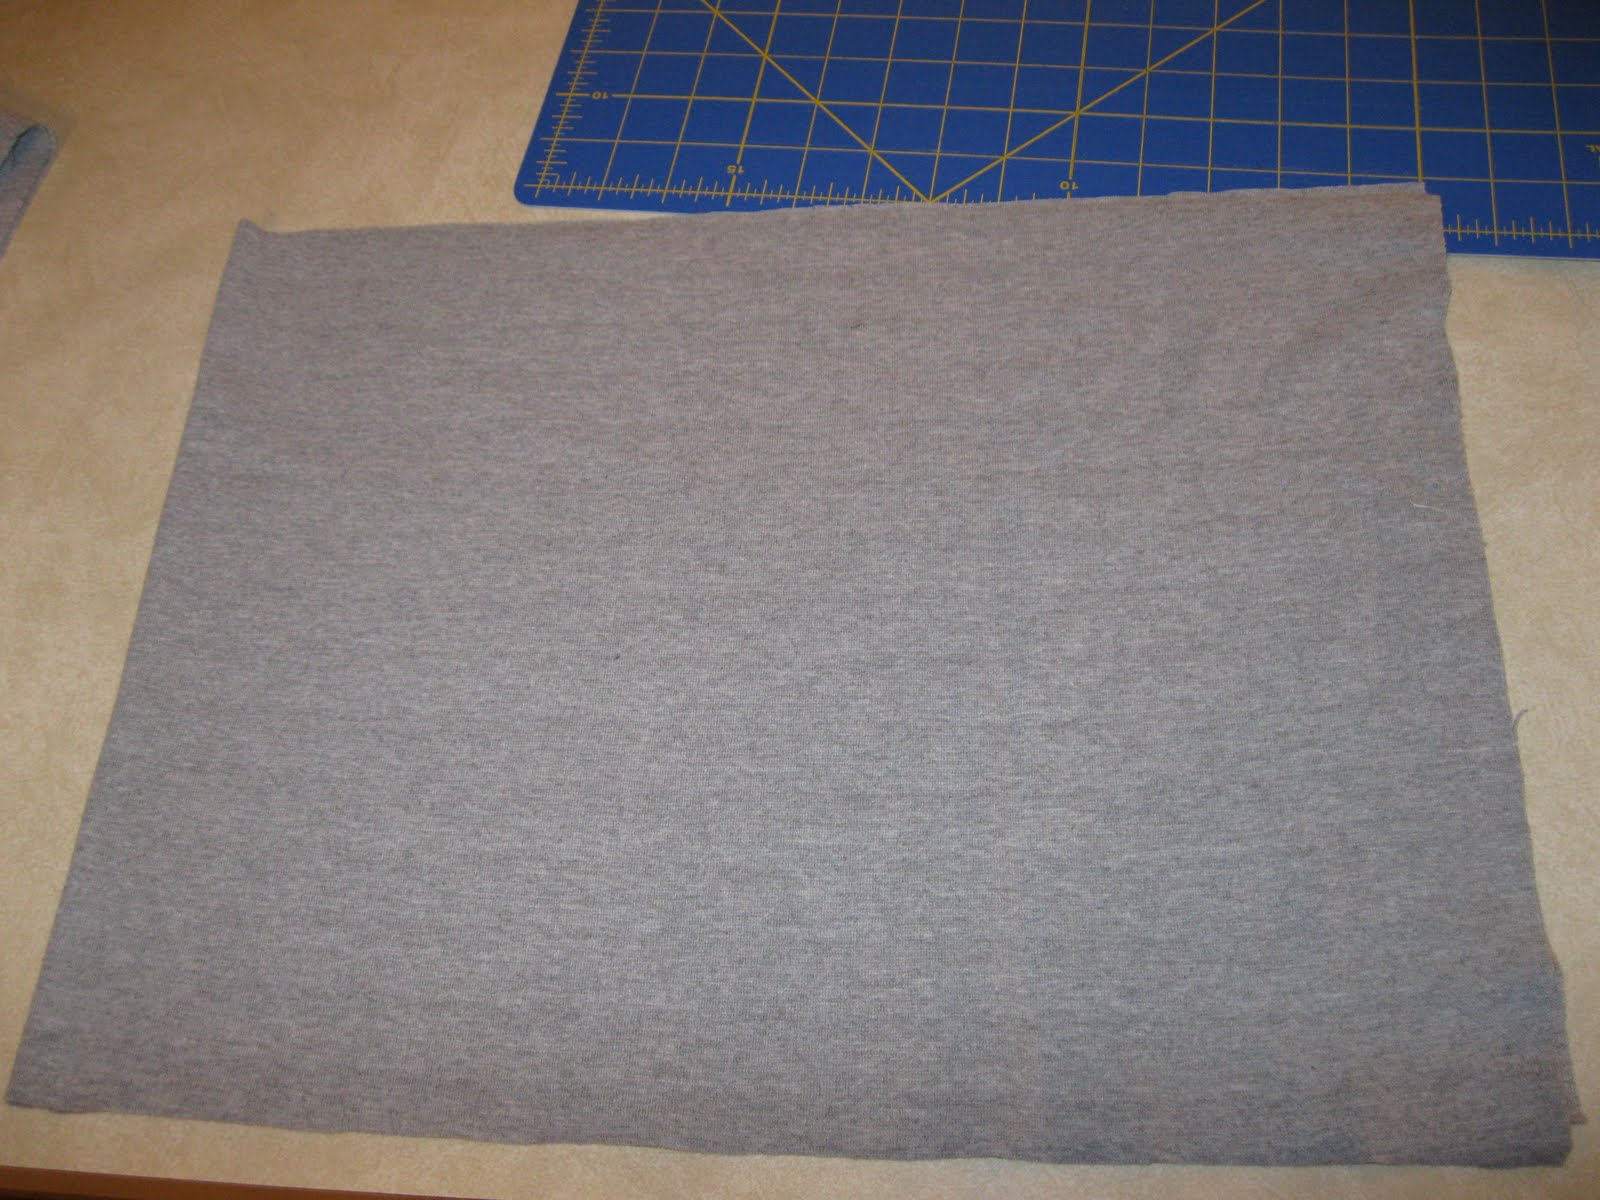
I then tapered the pieces into an A-line shape using the full width of the fabric for the bottom part of the skirt with my ruler.

At this point, I stitched the sides of the skirt together. (I used a stretch stitch for all the seams.)
Next, it was time to work on the waistband. I was only able to make mine about 14" tall. I measured my waist and subtracted 4". I then sewed it up the sides like a tube and folded it over so that the right sides were out.

Then I ran into some problems. I had a waistband that was smaller than the skirt's circumference. I didn't want to gather the skirt, but I had to make it match up without gaps in the skirt. So this is what I did:
-Mark the sides and middle of both the skirt and waistband with pins.

Lined up the pins at each quarter turn around the skirt (sides and middle of the back and front).
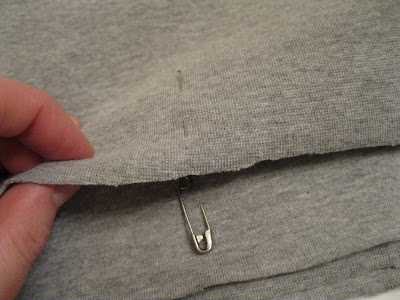
Then I stretched the waistband to meet up with the skirt and pinned. Then I sewed, using a stretch stitch, making sure I evenly stretched the waistband to be evenly distributed around the skirt's larger circumference.

Next came the hem. I hemmed on the outside of the skirt, carefully making sure to do 1" the entire way around.

I used a stretch stitch and gray thread. I think it turned out well!

I think the skirt is a little plain and I am planning to embellish it with something fun!
A picture of my 9-month pregnant self wearing this skirt. Edit: it will be tight through the waist/hip but if it isn't tight, it won't stay up!

A picture of my 9-month pregnant self wearing this skirt. Edit: it will be tight through the waist/hip but if it isn't tight, it won't stay up!


this looks fantastic! :) and i like plain, so i love it as is, but if you add embelishments, you'll have to share!
ReplyDeletePersonally, after sweat pants, I love to pull on a comfy skirt good for everything and cute t's make it look great - and for me it has nothing to do with maternity just comfort. I can't wait to try it.
ReplyDeleteMmmm....looks comfy. Especially for this pregnant lady! Putting it on my list of maternity and postpartum to-dos! Thanks for posting!
ReplyDeleteThanks for the great tute! I also made the full-version but love a good A-line. Will be trying this one soon :)
ReplyDeleteOh, I really like this. I have some left over red knit material that I think I can use.
ReplyDeleteThanks for the tutorial. I am planning on making one for myself today and maybe for the daughter that is home on spring break.
ReplyDeleteSo glad you found it helpful, Sheryl! Hope you and your daughter love your new skirts!
ReplyDeleteThis is the best skirt pattern I ever tried! Easy and good fitting don’t always go hand in hand, but this was amazing! Thanks!
ReplyDeleteI just tried this but my skirt panels were WAY too tight. How did you do your measurements again?
ReplyDeleteHi Jackie! I made the top part of the panel 2" wider than the fullest part of my hips (so it would be easy to pull on) and then tapered it out from there into an A-line shape. I just eyed it up, but probably would be easiest to take another a-line skirt that fits you and see how wide it is at the bottom. You could use that measurement as a guide to draw a line from the top point to the bottom (if that makes sense...)
DeleteYou could salvage the fabric you've used for the too-tight version by making four panels with the new measurements.
Hope that helps! Sorry it didn't work out the first time for you. Things like that happen to me all the time...
I realize I incorrectly answered your question, Jackie. I did cut the panels 2" wider and then tapered from there. This skirt was made from stretchy fabric and it is tight, but if you don't cut it 2" wider (total, the way the pictures show) it won't stay up!
DeleteHi, love this tutorial. I'm a little confused as mine looks too small too. Is the 2" larger than hip part for the bottom of the a-line or the top of the panel which attaches to the waistband. The instructions make it seem like it's the hem width but the answer to Jackie makes it seem like it's the waistband width. Can you just confirm? Many thanks!
ReplyDeleteHopefully the adendum to Jackie's answer above helps. I did cut the panels 2" wider and tapered them in from there. It is tight, but if it weren't tight enough at the top, it wouldn't stay up. I'm adding a picture of me wearing it last July (while 9 months pregnant.)
DeleteThankyou for this wondrous post, I am glad I observed this website on yahoo. black yoga shorts
ReplyDelete